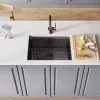
You probably don’t give your RV sink much thought. One is standard equipment in every RV, and its function is fairly clear. Most of the time, using an RV sink is as simple as using a sink in a home, and there isn’t much to consider. Having said that, there are instances in which your RV sink necessitates a little more care. Perhaps you have never owned an RV before and are unsure of how the sink functions, or perhaps you simply need some advice on how to use your RV bar sinks more effectively.
In some situations, it might be the case that your sink is stained, and you’re looking for ways to get rid of those stains; in other situations, it might be the case that you’d like to completely replace your RV sink. You’ve arrived at the appropriate location if you have inquiries about your RV sink. Everything you need to know about your RV sink will be covered in this article.
What's An RV Sink?
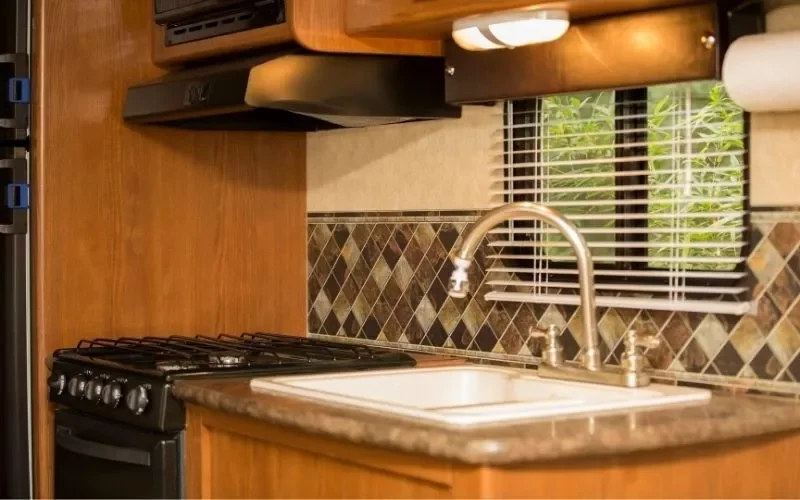
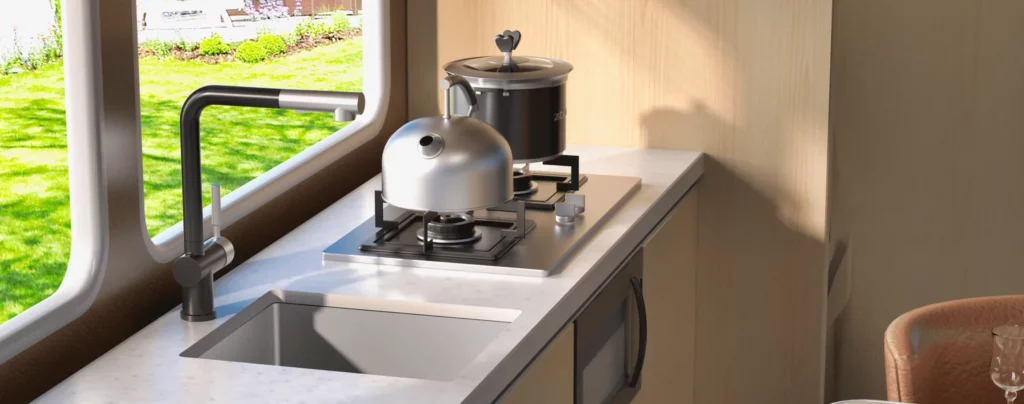
RV sinks are made specifically to fit the plumbing system of an RV, which uses flexible PVC pipes rather than the rigid metal pipes you might find in some buildings. Additionally, RV sinks may come in various sizes to fit the more compact living spaces of a travel trailer or motorhome, or they may be specially shaped to fit the confined area of your vehicle.
For instance, RV corner sinks are compact and can fit perfectly in an RV bathroom, giving you enough room to wash your hands without taking up too much space for your other personal hygiene needs. Knowing what is available will help you decide what kind of RV sink you require.
An RV sink is typically identical to any other sink. Fixtures turn on and off the tap to deliver hot and cold water when it is connected to the sink’s plumbing system. The plumbing system and fixture operation in an RV sink and a sink in a stick-and-bricks house are essentially identical in this regard. However, the materials used to make sinks designed for use in RVs might differ from one another.
How Does An RV Sink Work?
Let’s start by discussing how your RV sink functions. If you’ve never traveled in an RV before and want to get a general understanding of how it is set up, this section will be helpful. The freshwater system in your RV is where the sink faucets are located. This system can use a pump that is probably already built into your RV to draw water from a freshwater tank, but it can also be connected to “city” water via an inlet on the outside of your RV. With either approach, running water will be available in your RV bar, and prep sinks when the faucet is opened.
If you decide to connect your RV to city water, all you need to do is attach a water pressure regulator to a freshwater hose, connect the regulator and hose to the outside spigot, connect the other end to your city water inlet, and turn on the water at the spigot. You should now have water at your RV sink after doing this (and elsewhere throughout the RV).
Before going to their campsite, people who will be dry camping must fill their freshwater tanks with a potable water spigot. Your RV’s freshwater fill is typically marked as such and is located outside. You must turn on the pump after the tank is filled to have running water in your Rv bar sinks.
There must be somewhere for all that flowing water to go. The grey water tank comes into use in this situation. Your RV’s sinks discharge water that is collected in the grey tank after passing through the drain pipes. A sewer connection at your campsite or an RV dump station must receive the tank when it is full.
What Are RV Kitchen and Bathroom Sinks Made Of?
Materials like metal, acrylic, and plastic are used to make RV kitchen sinks. However, besides those mentioned above, other materials like copper, porcelain, fiberglass, composite granite, etc., can also be used to make kitchen sinks. Because it can withstand frequent use, stainless steel is probably the best option out of all of these. Considering that it is thicker and of higher quality, choose stainless steel that is of a lower gauge. You should be aware that stainless steel will be thicker the lower the gauge.
Plastic
Because plastic sinks are lightweight and inexpensive, they are the most frequently found type in RV bathrooms and many RV kitchens. The drawback of plastic sinks is that they sometimes crack and are simple targets for stains and scratches.
Acrylic
Acrylic sinks are less likely to chip or get stained. They are typically molded with heat and have a sturdy fiberglass backing.
Solid Surface And Corian
Corian is a well-known brand name for solid-surface, non-porous material that is composed of 2/3 natural minerals and 1/3 acrylic polymer. Durability and a premium appearance are both provided.
Stainless Steel
Stainless steel sinks are more frequently found in RV kitchens than bathrooms. Stainless steel workstation sinks are a heavier option, but they also tend to scratch and are generally more durable.
Porcelain
Every now and then, you might come across a porcelain bathroom sink in an RV. Probably a vessel-style bathroom sink mounted on the surface. Although it weighs more than nearly any other material, porcelain is extremely scratch- and stain-resistant.
How Is an RV Sink Generally Mounted?
RV sinks can be top or under-mounted.
Top-Mounted
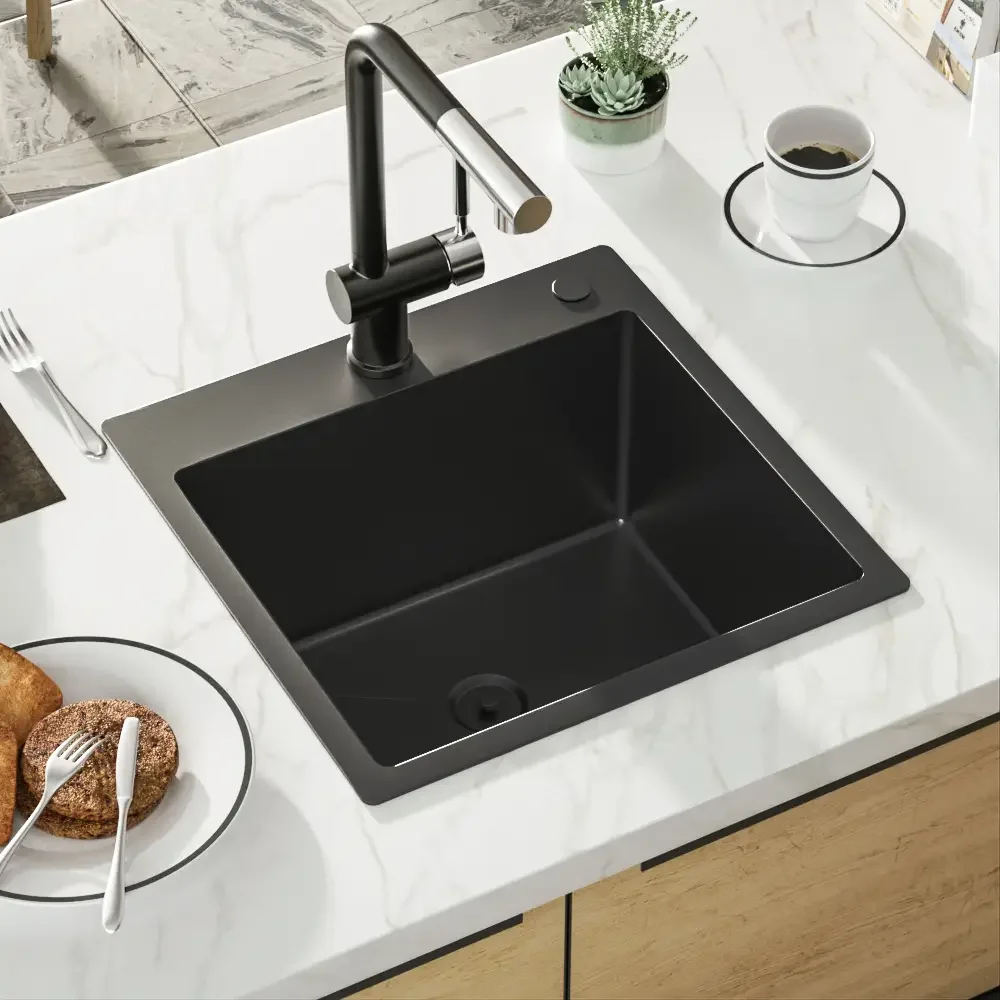
Through the counter’s top, a top-mounted RV sink is mounted. The term “drop-in sinks” is sometimes used to describe them. A top-mounted sink with a workstation is easier to install and less expensive than an under-mounted sink. As a result of the sink’s lip completely encircling the countertop’s edge, they also frequently complement any type of countertop.
The drawback is that nothing from the counter can be cleaned in the sink without first going into it. That is prevented by the sink’s lip extending past the counter.
Under-Mounted
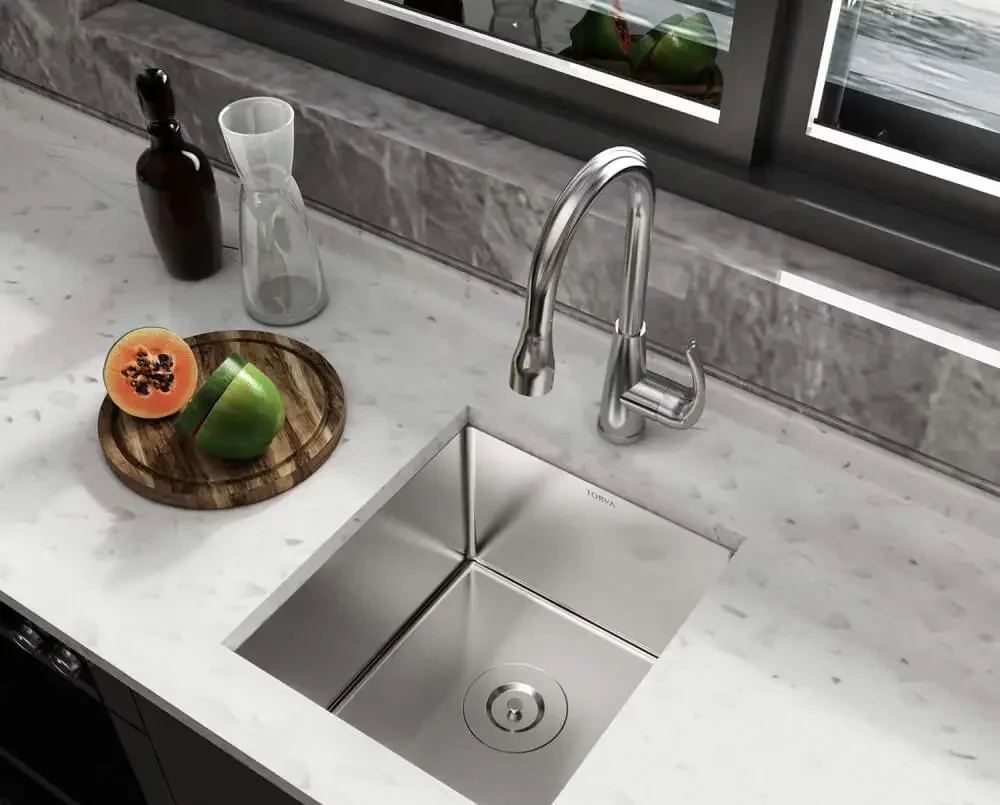
With an under-mounted RV sink, the sink’s body is positioned beneath the countertop, and its edge is positioned below the countertop. Since under-mounted sinks are more expensive, it is usually advised to hire a professional installer. This is because under-mounted sinks must be tightly sealed to prevent water from leaking into the space between the counter and the sink.
Another drawback is that an under-mounted sink’s the potential to chip the edge of the counter when used in the kitchen. However, since there isn’t an overlapping lip like there is with a top-mounted sink, under-mounting allows you to easily wipe anything on the counter (water, crumbs, etc.) into the sink.
How to Clean an RV Sink?
It is simple to make using your RV sink. However, eventually, you will need to clean your RV sink. Now what? The good news is that cleaning the sink in your RV is no more challenging than cleaning any other sink.
Stainless Steel RV Sink Cleaning
Many people dislike using chemical cleaners in the sinks of their RVs because they don’t want the cleaners to go down the drain and into the grey tank. Others prefer to use fewer chemicals in their homes, so they don’t like to use them. In either case, rubbing baking soda in the direction of the stainless steel grain should be sufficient to eliminate stains if you want to avoid using chemicals.
However, hold off on rinsing the baking soda right away. Instead, fill the workstation bar sink with undiluted white vinegar, spray it down, and then wait 5 to 10 minutes before washing everything with water. Do you need more stain-removing strength? Try mixing cream of tartar and vinegar to make a paste. Any stains should be gently scrubbed with this paste. After 5 to 10 minutes, rinse.
Maintaining a Plastic RV Sink
Most RV sinks are made of plastic. You should regularly clean them because they are likely to get stained. The vinegar and baking soda methods work well for cleaning plastic sinks. Although toothpaste also works to remove stains from plastic RV sinks, many people favor using toothpaste.
Tips for Using Your RV Sink
You now understand how to clean and unclog the sink in your RV. Before we send you on your way, there are still a few things about your RV sink that you might want to know. Here are some important pointers for using your RV sink.
§ Do Not Forget To Turn On The Water Heater
Even those who have traveled for years occasionally forget to turn on their water heater, as many first-timers to camping don’t realize they need to do so. This necessitates using cold water to wash dishes, which is never enjoyable. To avoid this, remember to turn on your water heater when you get to your campsite or before you plan to do so. (And give the water plenty of time to heat up. Typically, it takes between 30 and an hour.)
§ Limit Your Water Use
You will only have a very small amount of water and a small amount of grey tank space if you are dry camping. You’ll probably have to make do with a small amount of hot water even if you aren’t dry camping. It’s crucial that you use less water because of these factors.
§ When Tank Space Is Limited, Empty Dishwater Outside
If you’re boondocking and trying to save as much grey tank space as you can, think about washing your dishes in a dishpan in the kitchen workstation and throwing the used water from your dishes outside rather than flushing it down the drain.
§ Be Innovative When Washing Dishes
In an RV, there isn’t much room for storage. As a result, dishwashing may require some ingenuity. If your sink is too small, another option is to use a dishpan placed off to the side.
Bottom Line
Plastic, wood, and stainless steel are just a few of the materials used to make RV sink covers. They come in various sizes and shapes, so measure your sink before purchasing a cover. Consider both function and style when picking an RV sink cover. Clear plastic covers, for instance, are excellent for letting you see what’s in the sink, while stainless steel covers can give your kitchen a more upscale appearance.
Products Not Found

