Mastering the Art of Kitchen Sink Installation
Are you thinking of changing your kitchen sink and want to do it in the best possible way? Installing a kitchen sink may seem daunting, but with the right guidance, it can be a satisfying DIY project. To start your kitchen sink installation process, get your essential tools and other helping materials, including sink faucets, silicone caulk etc.
Here is a thorough guide on how you can do so by following the standard practices of changing a kitchen sink and installing a new one.
Setting the Stage: Tools and Materials
The various tools required to install a sink are simple and can be found in any hardware store. You must have all the items to follow the necessary steps in changing a kitchen sink. Before you start your DIY process of installing a kitchen sink, these are the tools you need to gather around.
These include a pencil, jigsaw, tape measure, clamps, silicone sealant, and your perfect sink that goes along the counter design and fittings. You should collect all the items before changing the kitchen sink. This will save you from the hassle of searching for each tool at every step you need them. This will disrupt your installation process and might cause issues.
Sink Selection and Considerations
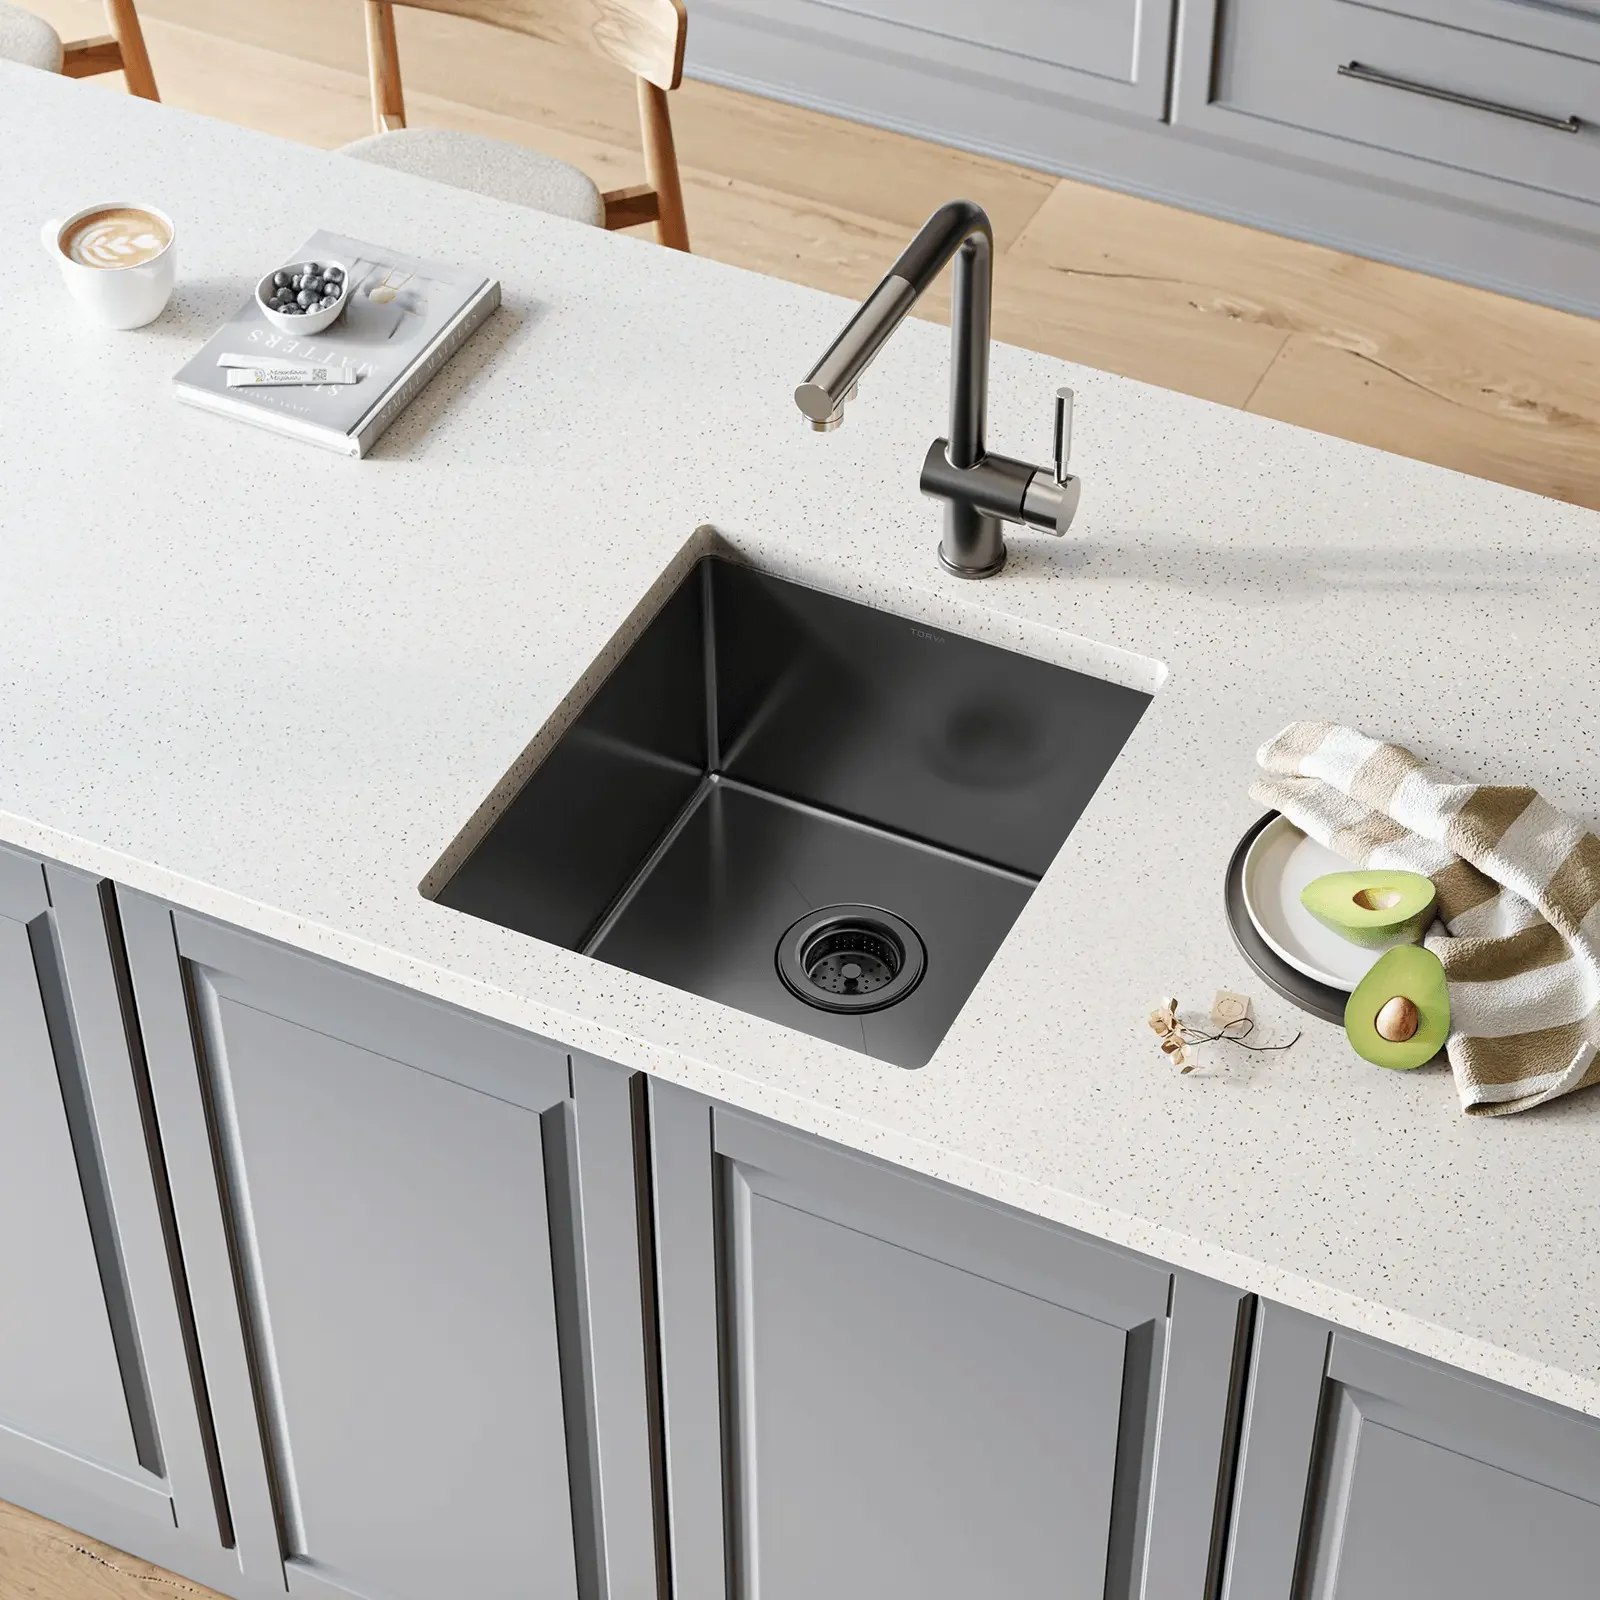
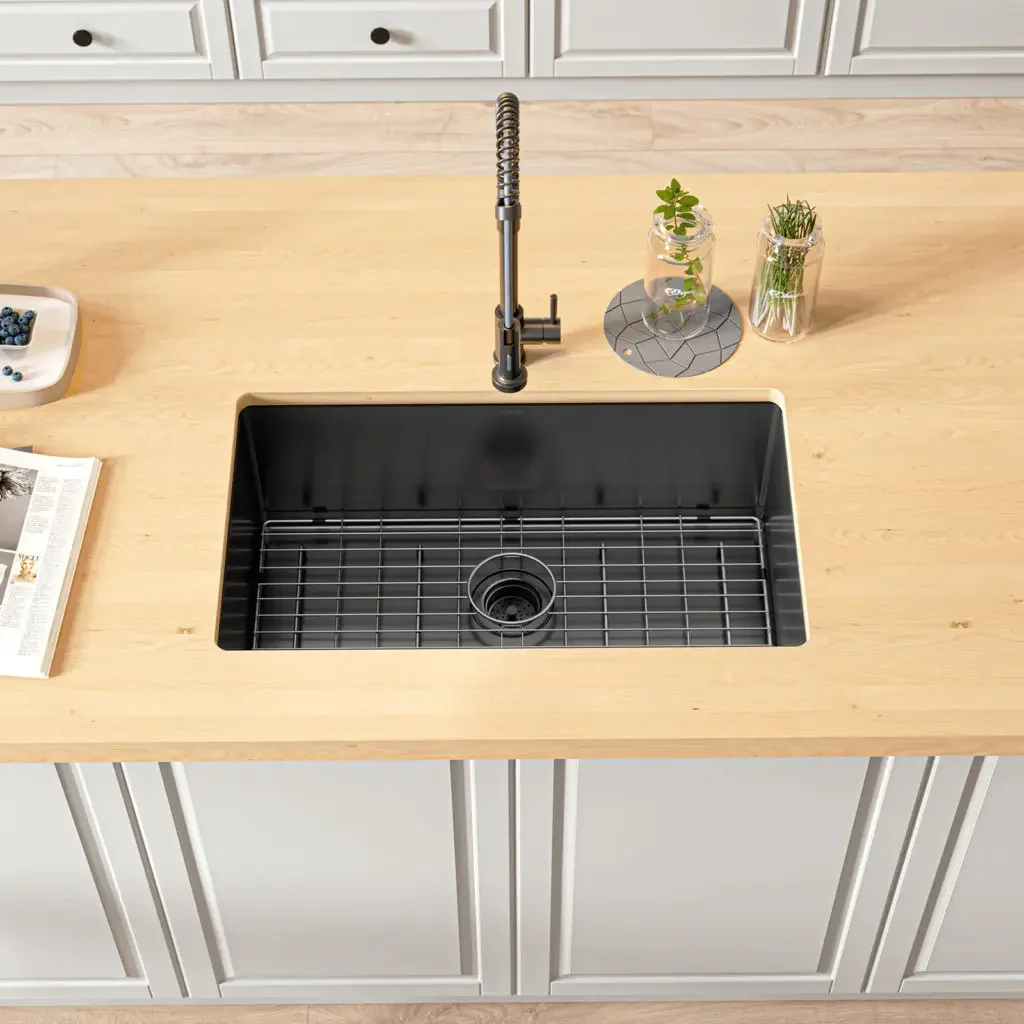
There are several kitchen sink designs and styles that you can pick from. But to pick the right design and style, consider your kitchen interior’s counter design and overall aesthetics. Choosing a mismatched kitchen sink will ruin the way your kitchen sink looks. Your kitchen sink is the centerpiece of any kitchen, and it is the item that holds the most attention in the whole room.
Hence, it’s very important to select a sink that enhances the color of your kitchen counters and makes everything look like one blended assortment of kitchen items. You can also look into different materials of sinks and designs that will make up for the space you need to fill up beautifully. By carefully considering these factors, you can decide when choosing a kitchen sink that not only serves its practical purpose but also enhances the functionality and beauty of your kitchen space.
Bidding Farewell To The Old Sink
- First, see if you have an under-mounted or drop-in sink. There are just a few differences in how you will remove these sinks, and they are explained ahead.
- Open the cabinet that you have under your sink. Most of the work will be done in this cabinet, and you will have a lot of room to place the tools or any extra bucket.
- Also, wear your protective gloves and eyewear. This area under the sink is confined and can have different hazards to your eyes. The job can get messy, so you need to protect yourself first.
- Turn the water supply off in your sink. You will have two valves under the sink: one is for cold and the other for hot water. Turn both handles clockwise and see if they are off.
- Now disconnect the supply lines of water from the underside of the faucet. Water supply lines that connect to your sink are flexible platforms that connect over both ends. This connection is found over the backside of your sink, so it might be hard to reach.
- Now, disconnect the drainage pipe of your sink. This pipe is connected over the bottom of the sink strainer with a coupling nut or slip nut.
- Cut through the caulking on your kitchen sink.
- Now, detach the sink from its countertop. If you have the under-mounted sink, hold it until you remove the nuts. The top-mounted sinks can be cleared much more easily at this step.
- Reach under your sink and push up on it to loosen it up and pull your sink from above.
- Now clean the spills and overall surface completely.
Creating the Perfect Fit: Measuring and Preparing
- Position the sink by placing it upside down on your countertop. Also, ensure it is properly centred and aligned with your cabinet. Use a pencil and mark tracing of the outer edge of your new sink. Also, remember to mark different positions for waste pipe and tap.
- Cut your countertop and make sure the measurements are accurate before you do so. You don’t want to ruin the countertop because of any tiny miscalculation. Once you are done, use a drill to make holes in every corner of your outline. Then, with a jigsaw, start cutting along those lines.
- Attach your sink by applying a bead of silicone sealant on the edge of the holes you have cut in the countertop. This will help create the perfect waterproof seal between your countertop and the sink. Now lower the sink and press firmly to perfectly secure the seal. Wipe off any excess sealant just before it dries.
Fluid Connections: Plumbing and Fixtures
Now, you can return all the plumbing pipes and fixtures you removed while removing the old sink. If your new sink has a garbage disposal kit, you can attach that pipe. The water pipes will go as directed on the sink or the manual that comes along it. You can also make your new sink have a smoother water flow and efficient drainage by connecting everything to its right spot.
Always double-check for leaks or low water pressure and fix them while you are still there with all your tools. You can then change or fix the water faucets if needed. Selecting the right fixtures, such as faucets and showerheads, can enhance both functionality and aesthetics. Regular maintenance and repairs are essential to prevent leaks and prolong the lifespan of these systems
Trial and Enhancement: Testing and Fine-Tuning
The key to a perfect sink installation is how well it works afterward. You need to make sure that everything is working fine and that no pipe or faucet is loose from where water can leak. These leaks can form ugly patterns on your faucets or sink surfaces with time; hence, you need to fix them immediately.
You can do different tests to let water flow out of the taps to see if there is a leak or not in any of the pipes.
Caring for Longevity: Sink Maintenance
To maintain a beautiful sink, you should always ensure you keep it clean and care for it. The best way to ensure your beautiful sinks are working optimally is to check for leaks and spills occasionally. Also, make sure you’re cleaning it every evening with the right materials to stay shiny for a long time. Plumbing and fixtures play a vital role in maintaining the flow of water and ensuring its efficient use within our homes.
Also, when choosing your next sink, pick the design and material that suits your requirements and sink usage throughout the day. This can help you use the sink for longer durations to come. You also need to ensure your kitchen sink is placed rightly into the cutout and the silicone sealant is stuck directly to the edge of the sink and onto the countertop.
This will give you the best performance of the sink and will also increase its overall life duration.
Masterpiece Completed: Wrapping Up the Installation
Products Not Found


