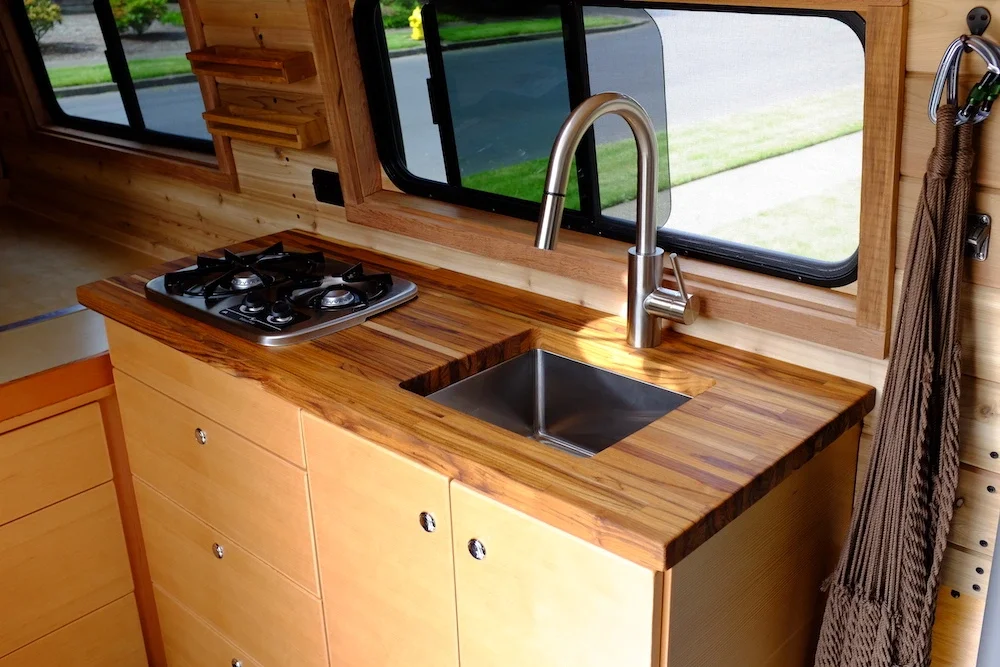
For every RV owner, replacing an RV sink and faucet can be an essential task. As it is one of the critical components of an RV, these fixtures play a fundamental role in daily life on the road, from prep meals to personal hygiene. Over time, these essential elements can deteriorate due to wear and tear, necessitating replacement.
Just as in your usual homes, the kitchen faucets in an RV are likely to be one of the most used fixtures in the whole vehicle. For this reason, it is also handy to know how to replace one if there is some issue with the urgent one.
You might need to replace your current faucets in the RV if they come with short-neck faucets or some low-quality fixtures. This is ideal for preventing splashing but can also be combined with the typical shallow sink in an RV. And if you get lucky enough, you might fit a pot under your faucet. This is one great reason to know how to replace an RV sink and its faucet.
Signs Indicating Replacement Need
If you want to maintain the functionality and aesthetics of your mobile home, know when it’s time to replace your RV sink and faucet. Here are some signs and situations that may prompt you as an RV owner to consider replacing your RV sinks or faucets:
Dripping Faucets
One of the most evident signs that a faucet replacement is necessary is when you observe dripping. If you see drips and spills of water around your faucet, you are at the right time for a change. Even a minimal leakage may waste too much water with time, adding extra costs to the bill. It may cause damage to the sink underneath, too. Professionals might be able to fix this issue for you by adjusting the faucet. If not, then you might have to replace the faucet altogether.
Rust, Grime, and Mineral Deposits
Grime, rust, and mineral deposits on your faucet and sink are significant signs you must replace. Because of hard water, certain mineral deposits may accumulate in your faucet, making it hard to use in its best condition. Instead of replacing it, try removing the stains with lemon juice or vinegar as you first take.
Spitting Faucet
Is there water from your kitchen faucet spitting all around? This is a prevalent issue that may be caused due to a clogged aerator. An aerator is a tiny screen on the faucet’s end that helps control water flow. If this clog is challenging to clear, it might be the right time for a replacement.
Unattractive Color
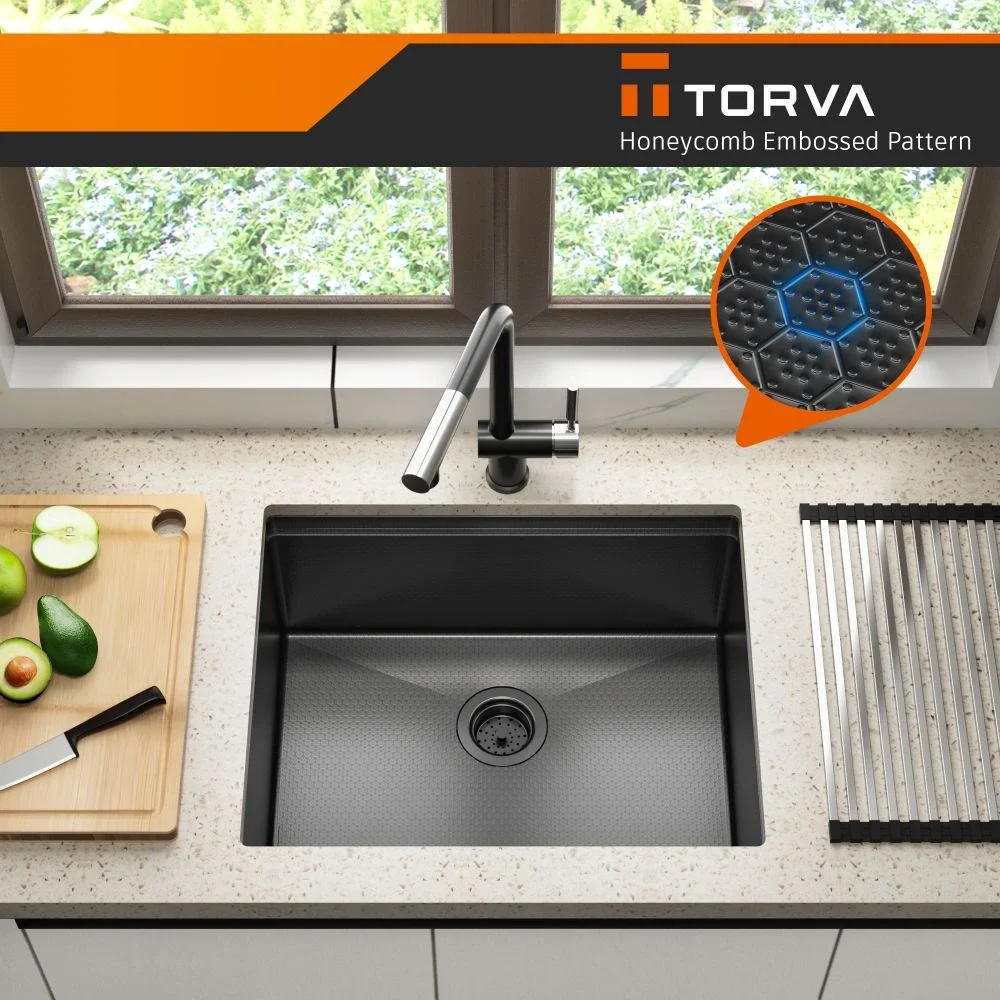
If your sink has an unattractive look, it might be time for a brand-new sink from Torva. If your sink is chipped and cracks, it might look highly unappealing. This is the same for sinks that still look the same after a thorough cleaning session. If you can’t seal the leak, which allows water to reach under the floor or on the interior of the bathroom vanity, then you might have to buy a brand new basin.
Replacing an RV Sink Faucet
Sink and Faucet Preparation:
Using an old faucet, you may now have to clear up the sink and plumbing lines right before installing your new faucet. Also, clean off all silicon residues or plumbers’ putty from your sink to ensure everything is dry and clean. Also, apply pipe dope to all the threads that are not your new faucet.
can be rephrased to “Apply pipe dope and Teflon tape before installing the new faucet. It is easier to do this now than wait until you have put everything in and need to do it when you are in the back under your sink. Also, apply your first coat of pipe dope, then your second coat of Teflon tape, and then the third and final coating of pipe dope to ensure the leak-free plumbing connection.
Installing a New Faucet
Using all the prep, the faucet is now in place to be installed. Now, place the faucet over the sink, set it in the plumber’s putty, and then crawl under your sink to connect it to the sink. Using the nuts given in the kit, you can connect the faucet to the sink and tighten it up. Also, join the plumbing lines to your faucet.
Connect the lines of plumbing and tighten; also, be sure you don’t over-tighten, as this might cause leakage or damage to your faucet or fittings. It is easier to snug something afterward and stop leakage or drips versus purchasing another when it breaks.
Step-by-Step Guide to Full RV Sink Replacement
Here are the steps you need to replace your RV sink
- The process of replacing the RV sink is different in difficulty, and a few general steps will always apply. Before you start, consider writing down all the steps you took in dissembling the sink fixture you already have. This will let you replace the new sink much easier as you will have a proper guideline to follow.
- Now, turn off the water supply and the cold and hot valves to empty the water supply or any residue in the sink or fixture. If you plan on replacing the whole RV sink, you may have to remove the drain stopper linked to the faucet before you do so. For a few RVs, you use plunger-style drain stoppers that are easier to remove than your traditional-styled drain stoppers.
- Once everything is removed, it is time to put your new sink in its place. And one of the easiest ways to do so is using plumbers’ putty. Put your new sink on the template you already had with your previous sink.
Once the RV sink is placed on your existing framework, you can line up all the couplers and ensure a secure fit once the installation is complete. If you are satisfied with the position, you can proceed with fastening the couplers in place so that you will not have to consider the new sink going out of its place.
- Ensure it is evenly placed when fastening your new sink on the frame. Having an uneven sink may cause problems in the case of functionality for your system if not leveled perfectly. Now that it is time to reconnect the hot and cold water lines on your new sink installation, you can use thread tape or other adhesive bandage to secure the gaps between the water lines and the faucet connection. Also, wrap your cold and hot water lines perfectly clockwise to ensure no water leaks from the sides when in use.
- You should also be able to open the hot and cold water valves to spot leaks before activating the water supply on the sink. This is the whole process of how you can install your sink from scratch. You should always follow the steps above so that you don’t get any spills and issues in using the water supply from your sink. This will help you use the sink for a long time without having a replacement.
After all, you don’t want to get into trouble when you are on the road and have no running water in the sink or have spills or dripping from your sink faucet. You also do not want an ugly-looking sink in your beautiful RV, so you should get the old sink replaced in time. An RV sink is the centerpiece of any kitchen and should be there in all its glory. Maintain it in pristine condition, enhancing your RV experience and adding to the joy of your life on the road while exploring the world!
Products Not Found


